To contact or not to contact. That is the measurement question. Today, as parts get smaller and more complex, metrology discussions center around contact vs. non-contact measurement especially as these components can be damaged by contact with a probe.
Non-contact optical metrology solutions do not damage parts being measured, and are faster than contact systems. They may be incorporated into “in process” applications near, or even onto, the production floor.
3D-optical metrology evaluates a vast number of data points quickly and with precision. Advances in optics, computers, high resolution sensors, and data processing capabilities have made optical metrology an inspection standard in most industry sectors.
Quality control is key to cost-effective and efficient manufacturing, and optimum quality management systems are critical to competitive success.
Today, the demand is great for automated, non-contact metrology systems that fit into production lines where high frequency part inspection is required. In addition, there is a growing emphasis on traceability, increased productivity, and global expansion.
Zygo and optical metrology
Zygo Corp., an indu stry leader in non-contact metrology, offers 3D optical metrology instruments that exist at the ultra-precise end of the measurement spectrum, aimed specifically at high-value industries.
Its customers demand high-precision metrology tools for greater data density in complex applications. Extracting the maximum data possible from each scan is critical to enabling superior metrology on the widest range of samples, and are often used in difficult environments where traditional metrology tools would struggle to operate efficiently.
ZYGO has developed technologies to operate in such environs such as its SureScan module for vibration robust metrology on its 3D optical profilers. The profilers are capable of oversampling, High Dynamic Range scans, and signal processing techniques, which has given rise to its “MoreData” technologies for maximizing data quality and capability.
These technologies help bring the instruments closer to the production floor and facilitate measurement of virtually any surface from the very smooth, to the very rough, and from very flat to highly sloped.
Metrology and smart-phone components
The mobile phone industry, for example, demands high accuracy metrology with greater data density. Applications requiring critical metrology capabilities include camera modules, flexible circuits, and mechanical components.
Lenses. Camera lenses used in smart phones are made up of aspheric elements. The manufacturing yield for a smart phone lens assembly depends not only on the shape of these complicated aspheres, but on the various built-in features that allow individual lenses to fall into alignment when assembled.
As cameras increase in image quality, tolerances of lens designs become tighter. Increasingly complex camera designs require complex surface geometries. With approximately 40 million micro lenses manufactured every day, there is critical demand for fast, high-quality, reliable metrology.
Zygo developed its Compass 3D optical profiler system, which combines interference microscopy, multi-axis staging, and software for evaluating lens molds as well as individual production lenses. Through full-surface 3D metrology, the Compass system characterizes these complex surfaces, and identifies defects such as deviation from design and process asymmetries or manufacturing errors. Identifying and quantifying defects can give manufacturers valuable insight about their processes.
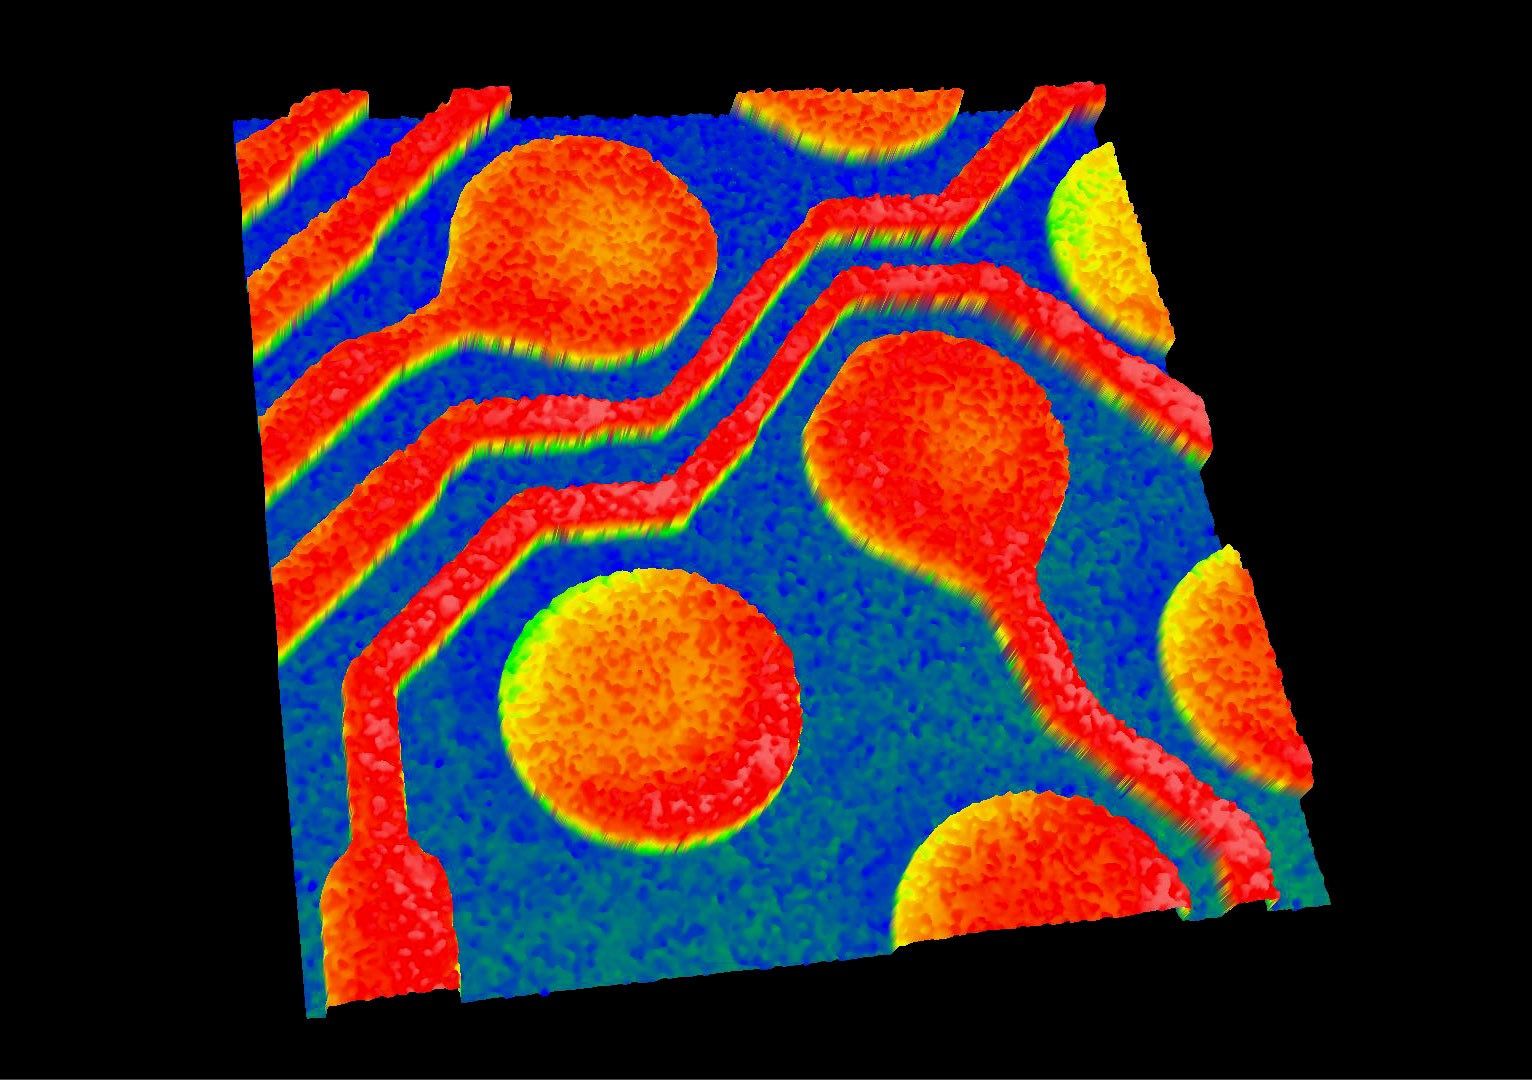
Flexible Circuits. Many smart phone components are connected using flexible circuits to save space, weight, and energy consumption. It is important to evaluate the critical lateral dimensions and topography of the components (usually electrical traces) used in such flexible circuits. Zygo’s optical profilers are able to combine both lateral and vertical metrology tasks into a single, automated solution.
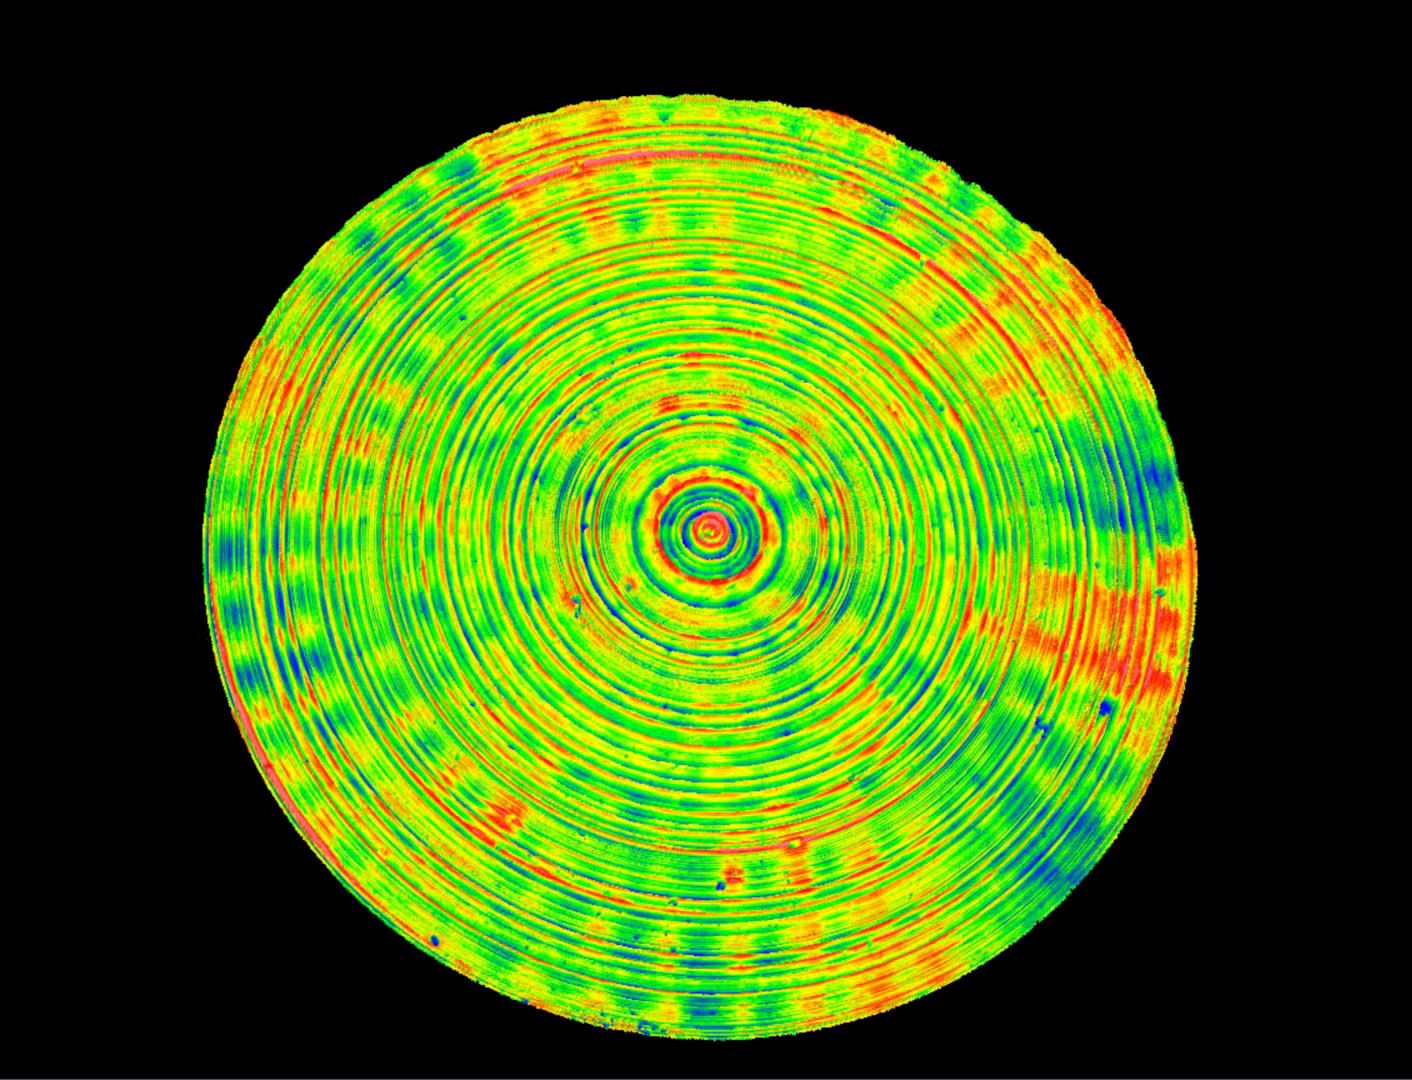
Mechanical Components. Mechanical components such as the barrels that camera lenses are mounted into, or the outer housings that contain all the various parts of a mobile phone, also have critical metrology needs that include topography features, lateral dimensions, and surface finish. Surface finish is key for cosmetic parts that need to maintain a consistent look across devices, especially when they may be made in various locations or multiple vendors. Zygo instruments like the NewView 9000, Nexview NX2, Compass, and ZeGage Pro optical profilers are deployed into applications of R&D, manufacturing, and quality control to monitor parameters such as these.
In addition, ZYGO's proprietary Mx software powers complete system control and data analysis, including interactive 3D maps, quantitative topography data, intuitive navigation, and built-in statistical process control (SPC) with statistics, control charting, and pass/fail limits. 
The rapid growth of advanced manufacturing technology in consumer electronics requires metrology instruments that work at the speed of the industry. Zygo’s range of optical profiler systems deliver on this need with the right configuration, capability, performance, and price for any given application.
ZYGO Corp.is owned by AMETEK Inc., a leading global manufacturer of electronic instruments and electromechanical devices. For more information, phone 860-347-8506, or visit the company on its website at www.zygo.com.
Contact Details
Contact Details
Related Glossary Terms
- flat ( screw flat)
flat ( screw flat)
Flat surface machined into the shank of a cutting tool for enhanced holding of the tool.
- metrology
metrology
Science of measurement; the principles on which precision machining, quality control and inspection are based. See precision machining, measurement.
- process control
process control
Method of monitoring a process. Relates to electronic hardware and instrumentation used in automated process control. See in-process gaging, inspection; SPC, statistical process control.
- quality assurance ( quality control)
quality assurance ( quality control)
Terms denoting a formal program for monitoring product quality. The denotations are the same, but QC typically connotes a more traditional postmachining inspection system, while QA implies a more comprehensive approach, with emphasis on “total quality,” broad quality principles, statistical process control and other statistical methods.
- statistical process control ( SPC)
statistical process control ( SPC)
Statistical techniques to measure and analyze the extent to which a process deviates from a set standard.

