By Michael Schmidt, market development manager, Zygo Corp.
 It has become abundantly clear that not only are electric vehicles (EVs) becoming more prevalent on the roads, but that almost all automotive companies are announcing plans whereby EVs will eventually dominate their product portfolio.
As the shift from internal combustion (IC) to electric continues, the number of drivetrain components will dramatically lessen. And the remaining components found in cars of all types will be more critical to the vehicle's operation and longevity. One such area, is the gear components necessary to convert the high-force torque from electric motors to the RPMs at the wheel.
Two factors of the vehicle's operation are related to these new gear packs for electric cars — efficiency, or 'rangeability,' and gear noise. To appeal to consumers, electric vehicles will need to reach similar mileage as their internal combustion counterparts. Accomplishing this will require gears with lower surface texture, where surface friction is reduced, thereby increasing the vehicle's overall range.
 Second, the sound from the IC engine typically masked the noise from the drivetrain. Efforts to dampen sound in the passenger cabin were designed into the vehicle frame and the passenger compartment. Yet, with the shift to electric engines, gear noise could again become prominent if it were not for a change to new manufacturing methods and processes.
With recent processing developments and tighter specifications on EV gears, precision metrology can play a fundamental role. Zygo's work with industry partners, such as the Ford Motor Co. has helped advance these processes by establishing a reliable method to measure and monitor these surfaces, allowing for even tighter specifications and stringent quality control.
Making precision gears
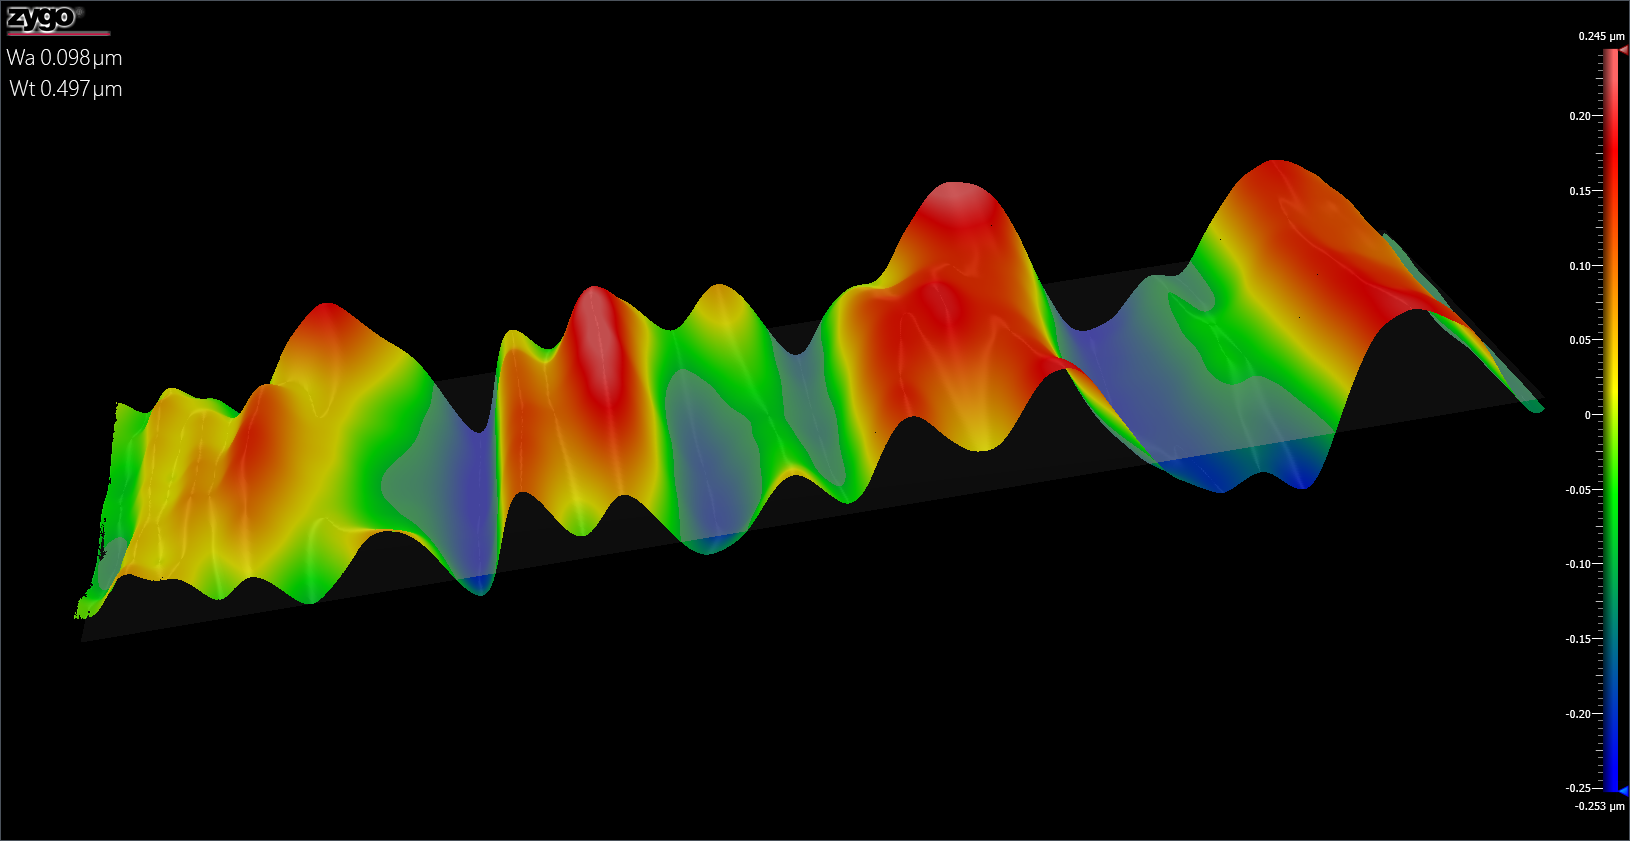
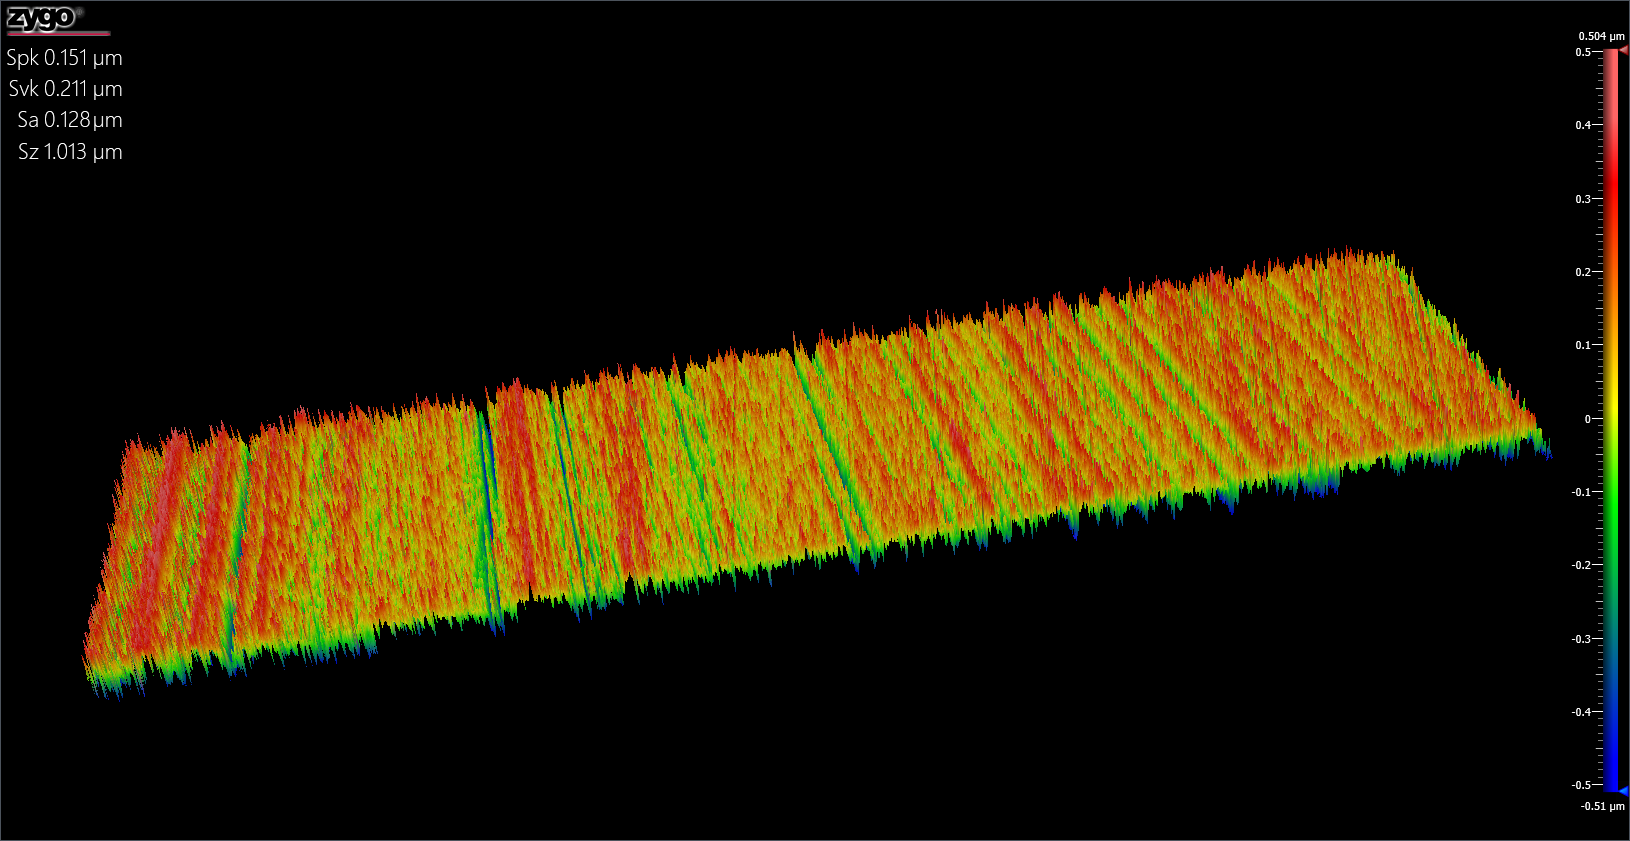
The design and manufacture of gears can take many paths, leading product design engineers to evaluate different methods to achieve stringent surface texture and waviness specifications and high production volume demands. Contingent on the production method, fabricating accurate gear tooth form and flank texture can be a balancing act.
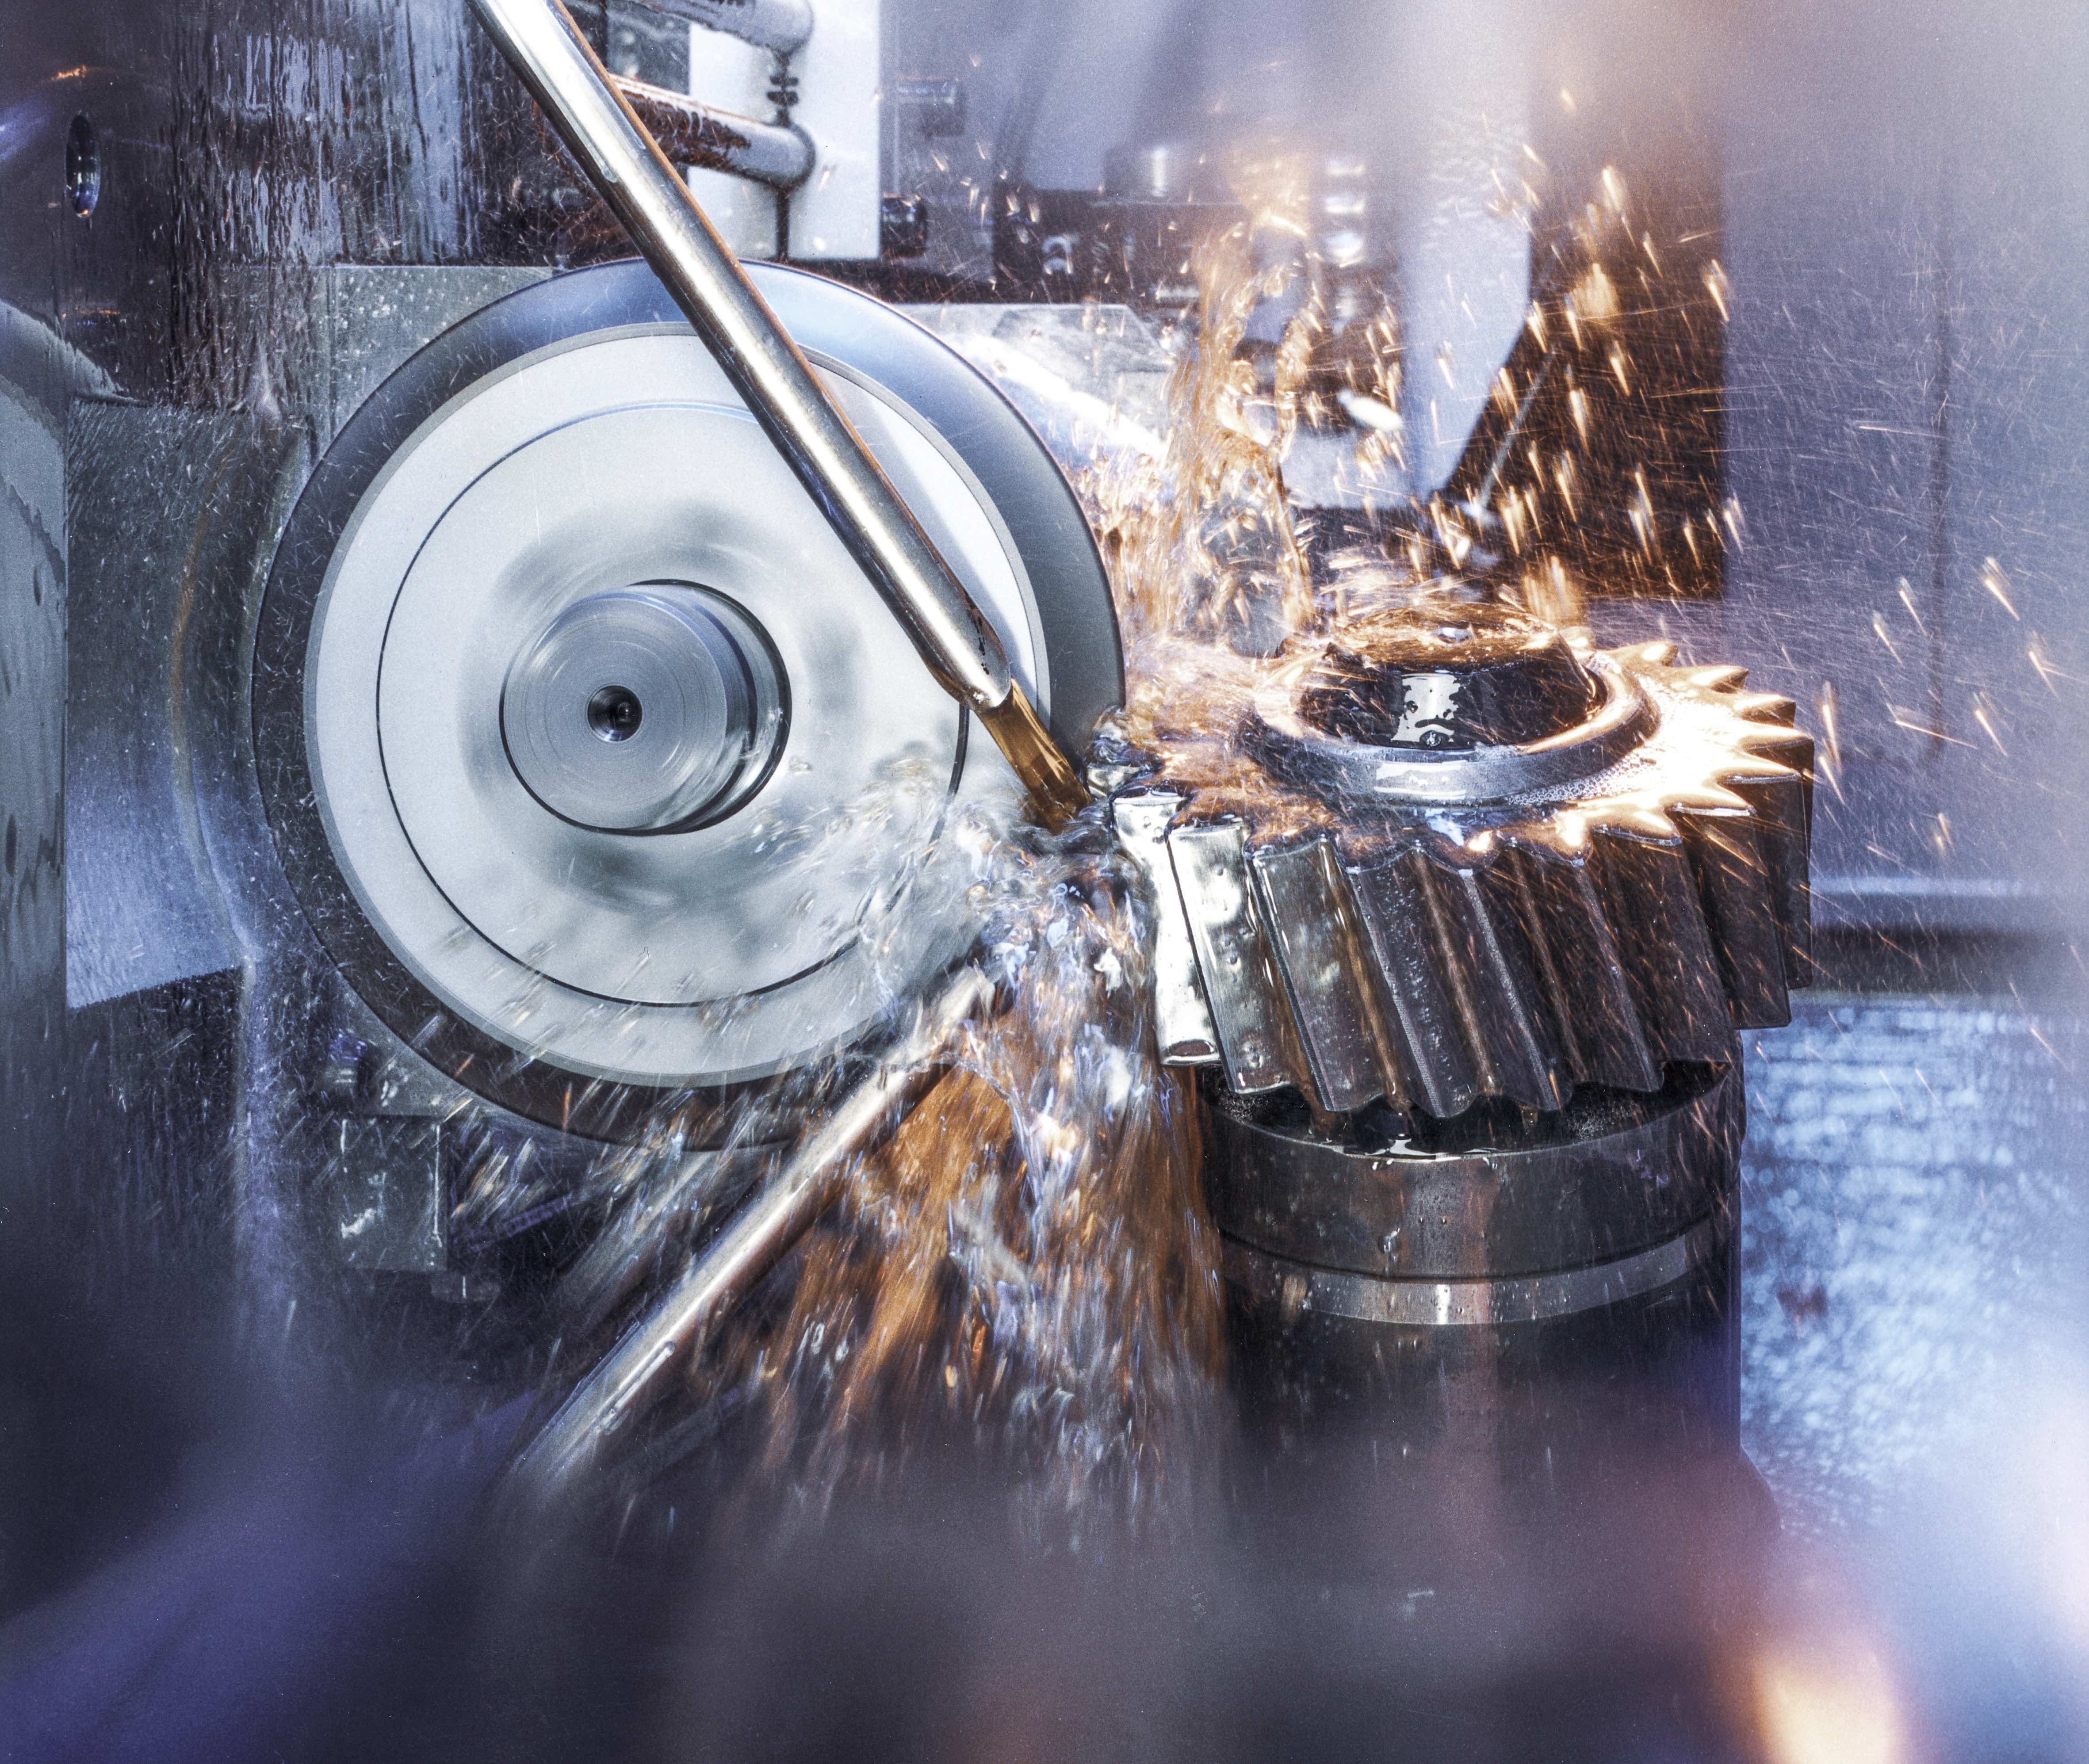
 But when achieved, specific techniques can produce gears in high quantities while attaining the required form and surface texture demands. One such method is continuous generating grinding that utilizes threaded wheels, which remain in constant contact with the developing gear tooth structure (see figure 1). This method, among others, has been proven to produce the essential gear texture and waviness specifications to improve gear tooth interaction while reducing contingent noise.
The role of precision metrology
To ensure the surfaces on the gears are optimized, it is essential to use metrology tools to analyze, understand, and characterize. Because these gears are high value means that it is highly preferable that non-contact metrology solutions are used, which will not compromise or damage the post-processed gears. As gear surfaces become smoother, tactile and other analysis methods will become more challenging to use. They may result in surface scoring or simply not reach the critical inspection areas. This is why industry partners, such as the Ford, look to Zygo's suite of 3D non-contact optical profilers
 At the heart of Zygo's optical metrology solutions is its coherence scanning interferometry (CSI), which uses specialized optical microscope objectives that provide the imaging and magnification of a surface and measure the 3D topography of the surface. CSI profiling is entirely non-contact and, in contrast with other microscope-based 3D topography techniques, CSI has the distinct advantage that the height resolution of the measurement is consistent across all magnifications, whether the magnification is 1x or 100x. This presents a unique opportunity for CSI-based systems as the shape and size of the gear may limit the types of objectives able to gain access to the area of interest.
With other technologies, the use of a long working distance objective may limit the vertical resolution of the measurement. Zygo's internally developed objectives lose neither vertical resolution nor measurement precision. This was one of many determining factors for Ford in selecting the Zygo Nexview product for its EV gear line. Other considerations included the extreme stability of the measurement, ease of gaining access to the measurement area, as well as the assortment of objectives to meet their demanding requirements for on-the-floor production metrology.
Stitching
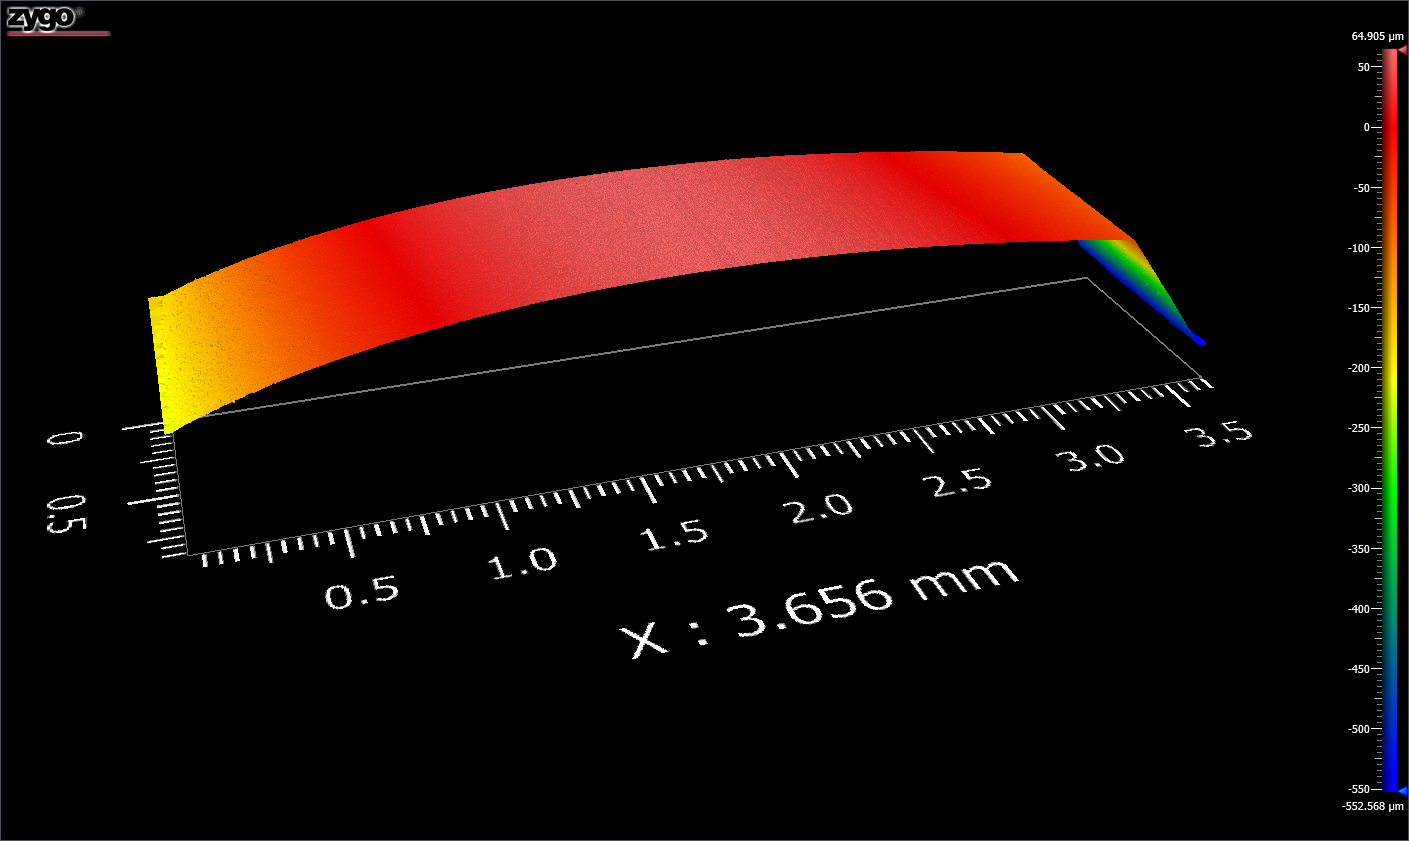
Another key driver built into Zygo’s solutions is field stitching. With some similarities to panoramic photography, a user can set up a measurement to capture more area than the installed objective. This creates a matrix of overlapping measurements, when done acquiring, are 'stitched' together to form a larger measurement than a single objective can accomplish. Where this is advantageous in gear metrology is the acquisition of surface texture along a gear flank, from edge to edge, or stitching from the gear root to the tip, traversing over the involute shape. What should be emphasized is the ability to perform these stitched measurements over non-planar surfaces, such as hypoid-shaped surfaces. By programming the start and end positions of the measurement sequence, a user can re-measure a hypoid gear with continuous high precision because of Zygo’s proprietary stitching algorithms.
Combining the stitching and measurement methods with Zygo's in-house long- and super-long working distance objectives, software ease-of-use, and internal Python scripting provides customers with a complete solution for measuring many different gear types.
It also explains why Zygo works alongside an array of global EV manufacturers, allowing for the fast, efficient, accurate, and repeatable measurement of the newer generation of highly polished gears.
The growth of the EV market is inevitable. It places significant challenges in front of manufacturers as they wrestle with the need for technological advancements in the real nuts and bolts of vehicle engineering. Top of the list at the moment is the requirement for advanced finishing and grinding technologies that are used to produce extremely complex and precise surface features in gear teeth to enhance efficiency and reduce noise, thereby improving customer satisfaction.
As is so often the case in advanced design and manufacturing, metrology's role moves from a necessary evil to enabling technology when pursuing innovative technological advancements. In the area of gear manufacturing for EVs, it is vital to be able to accurately, quickly, and easily characterize the precision surface features. Zygo's suite of non-contact optical solutions easily meets these challenges.
Optical metrology is an extremely versatile inspection method and has an essential role in verifying gear quality and design intent achievement. Today, it has become the "go-to" metrology solution, benefitting from the fact that it is non-contact, non-destructive, fast, highly sensitive, and has exceptional resolution and accuracy.
For more information, visit www.zygo.com.
Contact Details
Related Glossary Terms
- grinding
grinding
Machining operation in which material is removed from the workpiece by a powered abrasive wheel, stone, belt, paste, sheet, compound, slurry, etc. Takes various forms: surface grinding (creates flat and/or squared surfaces); cylindrical grinding (for external cylindrical and tapered shapes, fillets, undercuts, etc.); centerless grinding; chamfering; thread and form grinding; tool and cutter grinding; offhand grinding; lapping and polishing (grinding with extremely fine grits to create ultrasmooth surfaces); honing; and disc grinding.
- inscribed circle ( IC)
inscribed circle ( IC)
Imaginary circle that touches all sides of an insert. Used to establish size. Measurements are in fractions of an inch and describe the diameter of the circle.
- metrology
metrology
Science of measurement; the principles on which precision machining, quality control and inspection are based. See precision machining, measurement.
- profiling
profiling
Machining vertical edges of workpieces having irregular contours; normally performed with an endmill in a vertical spindle on a milling machine or with a profiler, following a pattern. See mill, milling machine.
- quality assurance ( quality control)
quality assurance ( quality control)
Terms denoting a formal program for monitoring product quality. The denotations are the same, but QC typically connotes a more traditional postmachining inspection system, while QA implies a more comprehensive approach, with emphasis on “total quality,” broad quality principles, statistical process control and other statistical methods.
- surface texture
surface texture
Repetitive or random deviations from the nominal surface, which form 3-D topography of the surface. See flows; lay; roughness; waviness.
- waviness
waviness
The more widely spaced component of the surface texture. Includes all irregularities spaced more widely than the instrument cutoff setting. See flows; lay; roughness.
