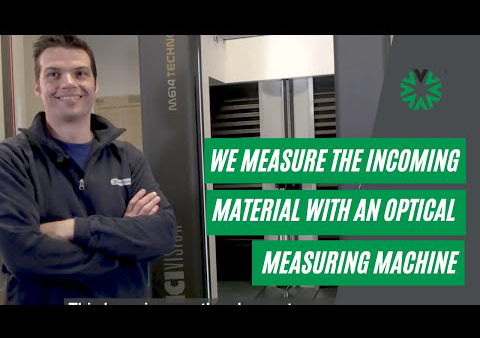
“Before purchasing a Vicivision, we had to use a variety of different machines,” explained a representative for Didimo Zanetti, a leader in the production of gears, as he opens the doors of the workshop and details how quality control worked before investing in an optical measuring machine.
The metrological room was populated by plenty of instruments: tridimensional machines, profilometers, and roundness testers.
From the post-war period to the present
Since 1953, Didimo Zanetti has produced bevel and cylindrical gears, crowns, pinions, and various gear components for the most renowned producers of agricultural machines, earth-moving machines, trucks, sportive and race cars.
It started as a small company producing gears in the post-war period in Italy, in the area around Bologna, when new sectors were emerging.
“Today we have three plants, with about 220 people. It has been an interesting journey with two key factors that have enabled the company to achieve such great results. One is continuous investment in cutting-edge technology, the second is the great passion we have for our work,” the representative said. “Our clients are growing and they require extreme flexibility.”
“With the growth of our clients, there has also been a growth in their demands, especially for what concerns flexibility. They are multinational firms asking for structured suppliers that are also extremely flexible: this means being ready to accept orders in a short time, without ignoring rigorous quality standards. We were missing a machine that could provide a rapid response for two important phases. The first, inspecting a finished part, and the second, checking incoming material.”
Quality control passes from tens of minutes to 15 seconds
“We work much faster now because with a single machine we can see all the dimensions and geometric errors.
Once we have created the program on the gear with the Vicivision machine, it’s just a matter of seconds and the machine quickly provides all the results necessary.”
For more information, visit https://vicivisionamerica.com.
Contact Details
Related Glossary Terms
- quality assurance ( quality control)
quality assurance ( quality control)
Terms denoting a formal program for monitoring product quality. The denotations are the same, but QC typically connotes a more traditional postmachining inspection system, while QA implies a more comprehensive approach, with emphasis on “total quality,” broad quality principles, statistical process control and other statistical methods.

