Part of the RENK group, Horstman is a manufacturer and global supplier of suspension systems for heavily armored and tracked vehicles. It also produces safety-critical engineering components allied to its core products for the sub-sea and aerospace industries.
A transatlantic investment has seen the company advance its quality control procedures significantly by installing identical new coordinate measuring machines (CMMs) at its factories in Bath, UK, and Sterling Heights, Michigan. Built by LK Metrology in Donington, UK, the CMMs were supplied with a compact tactile scanning probe technology to capture data on the size and shape of components more accurately and faster than when using a touch-trigger probing alone.
Bridge CMM
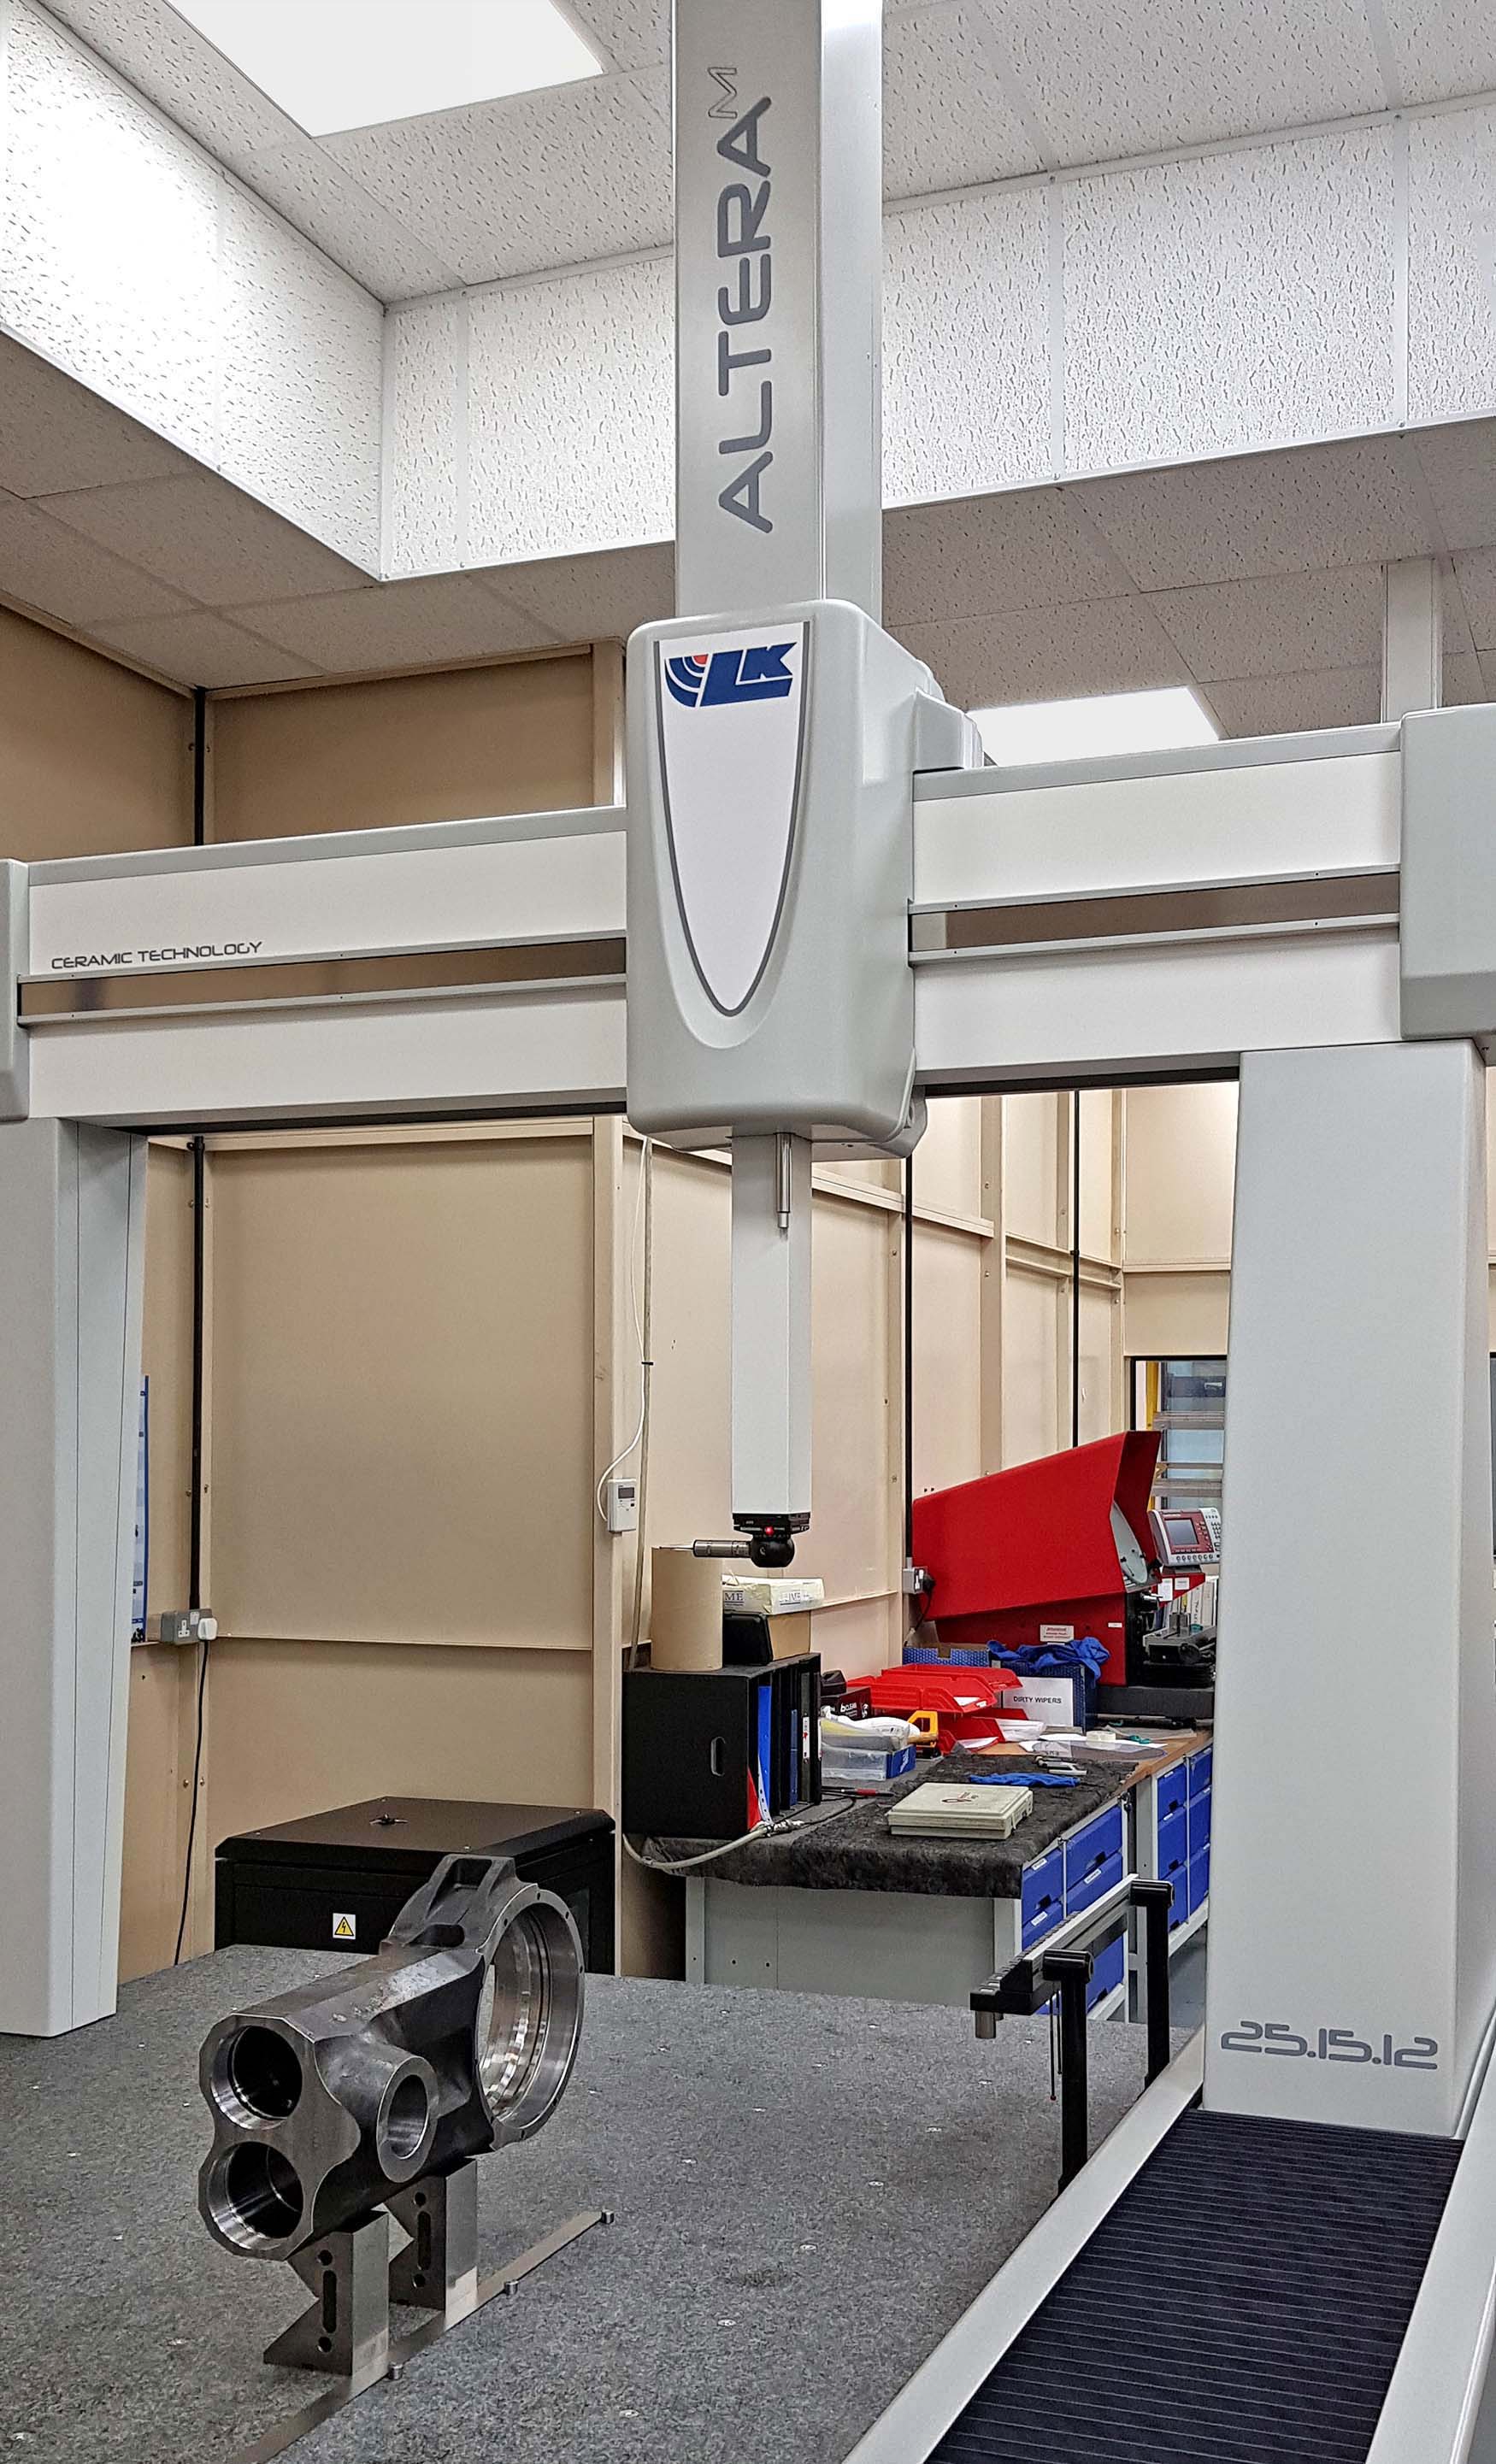
Horstman utilized the new LK AlteraM 25.15.12 bridge CMM, which has a large inspection volume of nominally 2.5 x 1.5 x 1.2 meters and is equipped with traditional touch-trigger probing and an advanced tactile scanning probe, replaced the smallest of three earlier machines.
Trevor Prynne, business development director at Horstman said, "The contact scanning capability of the new LK CMMs acquires many hundreds of surface points every second, enabling interrogation of form as well as size and position, including of bores 400 mm deep.
"This latest investment in technology is in line with our desire to remain at the forefront of high precision, high integrity engineering, allowing us to continue to offer customers the guaranteed service in design and production that ensures serving soldiers have the best combination of armor, firepower, and mobility they deserve.

"At Horstman, we are proud to supply products that exceed customer expectations. To do this we ensure that quality is not just a word that is spoken about during inspection of our components, but something that permeates throughout the whole group. All three of our locations, including the Canadian site in Ontario, have a minimum of ISO9001 accreditation, with the UK site also having AS9100 Rev D."
Stephen Ellis, quality manager at the Bath factory added, "As we have been involved in the supply of safety-critical, defense-related products, we decided that we needed a second large-capacity measuring machine that could inspect every size of component that we manufacture to provide redundancy in our capabilities if one of the CMMs should break down or require servicing. LK offered us the best package in terms of technology and accuracy of measurement at a mid-range price.
"We manufacture some components for our U.S. factory, and they produce others for us, so it was expedient to duplicate the metrology facility in our Sterling Heights plant. Crucially, LK can comprehensively support that installation as well, as it has a subsidiary in New Hudson, Michigan, just 40 miles away."He said that LK provided a good training and support package in both locations, so the respective inspection teams can prepare and share CMM programs. The latest version of LK's CAMIO 2021 software for programming and reporting has been supplied to the two factories. It may also be retrofitted to other CMMs at both sites in the future to enable interoperability between the different makes of CMM.
Within the Horstman group, new designs are being introduced with increasing regularity and to ever-tighter tolerances for hydropneumatic suspensions, electronic and electro-hydraulic active vehicle ride management systems, military thermal management systems, and aerospace and sub-sea products. That is why the metrology departments were often under pressure and wanted to move quality control technology forward in terms of speed of data acquisition and the accuracy of the data collected, in particular for form measurement.
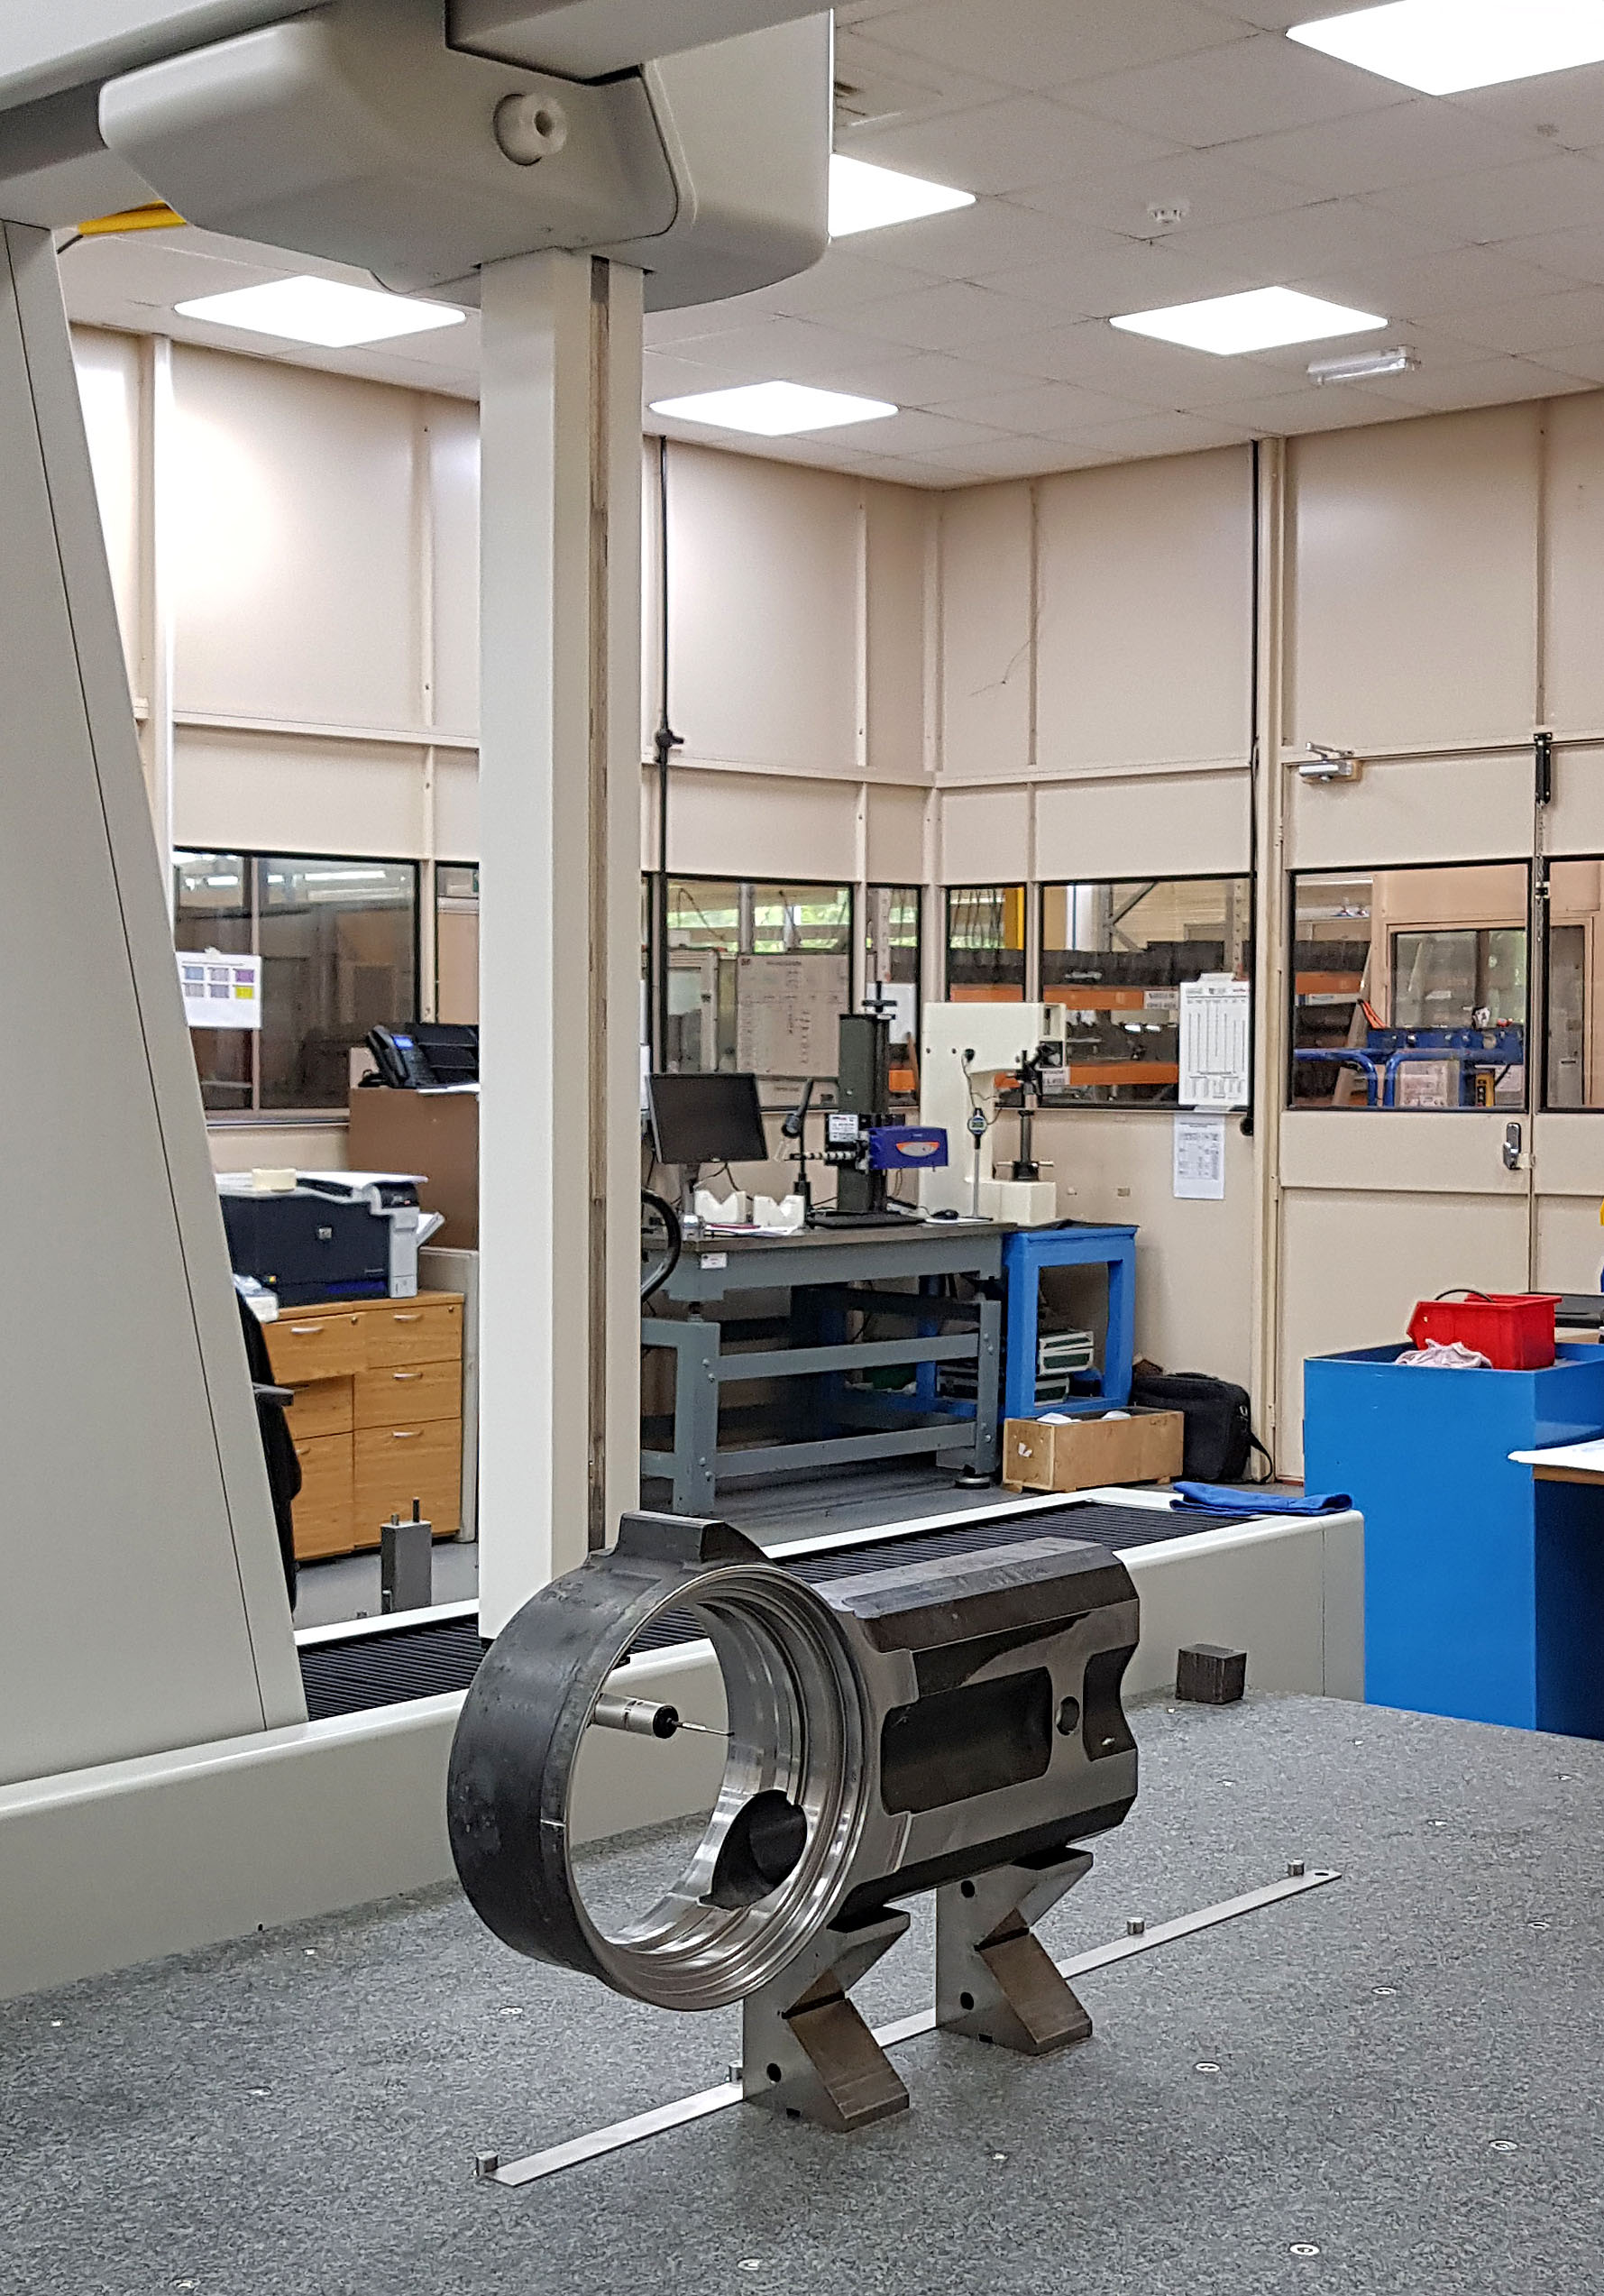
Component sizes are up to 1.15 meters in length by 0.75 meters in diameter. Materials include steel, titanium, and aluminum and in addition to dimensions, shapes are captured rapidly, and results are compared with the corresponding CAD model to ascertain fit and finish. Typical measurement cycle times are between 10 minutes and one hour. Features with a total tolerance down to 7 microns need to be inspected and some parts have reflective surfaces, which is why the manufacturer has not opted for the rapid, high-density point cloud acquisition of laser scanning. It would entail surface preparation, and, in any case, laser sensors do not offer such high accuracy and repeatability as tactile probes, in Ellis' opinion.
Scanning probe

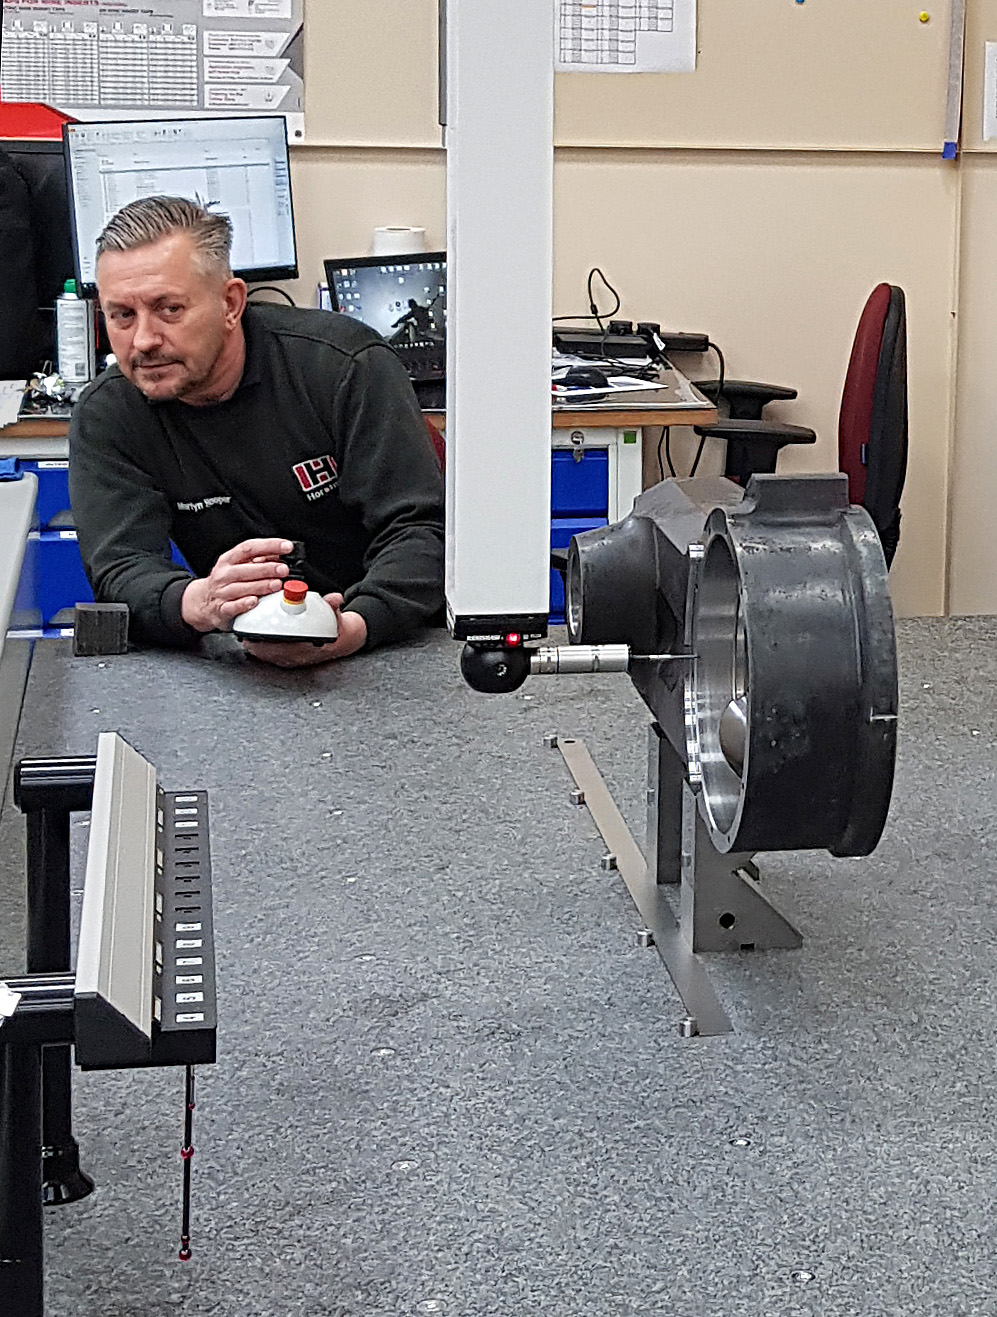
The SP25M scanning probe comprises two sensors in a single housing. Users can switch between a choice of five scanning modules with styli lengths from 20 mm to 400 mm as well as modules compatible with Renishaw's TP20 range of touch-trigger probes.
This capability enables scanning and touches trigger probing in a single probe system. When using the scanning probe, the system can measure up to 1,000 points per second to deliver a precise statement about deviations in profile and form that can affect product fit and function.
Such high-speed performance is partly due to improvements incorporated into the latest LK CMM controller. It signifies a major step forward in helping manufacturers to be competitive in today's global market by reducing bottlenecks in the quality control department and cutting non-value-added inspection costs. Increased speed also enables metrology to keep pace with manufacturing and provide prompt feedback for adjusting production processes.
It is not only the LK controller and software that deliver superior tactile scanning capability. The stiffness of the CMM structure, with its ceramic beam and spindle, has an optimal stiffness-to-weight ratio for high responsiveness and mechanical stability. Furthermore, LK's single-orifice, grooved-face air bearings provide a smaller air gap with greater stiffness than standard air bearings to enhance rigidity. These attributes combine to suppress deflection of the machine structure during the repeated, rapidly accelerating, and decelerating axis movements necessary for efficient continuous tactile scanning, especially on parts of complex geometry.
Contact Details
Related Glossary Terms
- computer-aided design ( CAD)
computer-aided design ( CAD)
Product-design functions performed with the help of computers and special software.
- metrology
metrology
Science of measurement; the principles on which precision machining, quality control and inspection are based. See precision machining, measurement.
- quality assurance ( quality control)
quality assurance ( quality control)
Terms denoting a formal program for monitoring product quality. The denotations are the same, but QC typically connotes a more traditional postmachining inspection system, while QA implies a more comprehensive approach, with emphasis on “total quality,” broad quality principles, statistical process control and other statistical methods.
- stiffness
stiffness
1. Ability of a material or part to resist elastic deflection. 2. The rate of stress with respect to strain; the greater the stress required to produce a given strain, the stiffer the material is said to be. See dynamic stiffness; static stiffness.
- tolerance
tolerance
Minimum and maximum amount a workpiece dimension is allowed to vary from a set standard and still be acceptable.
