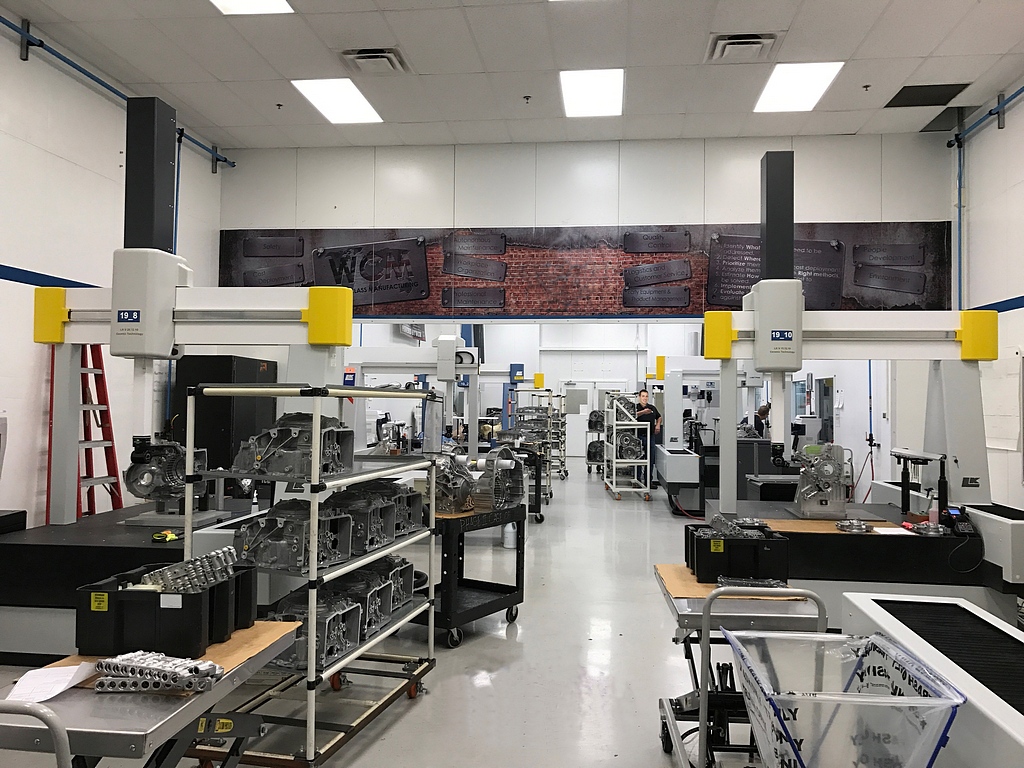
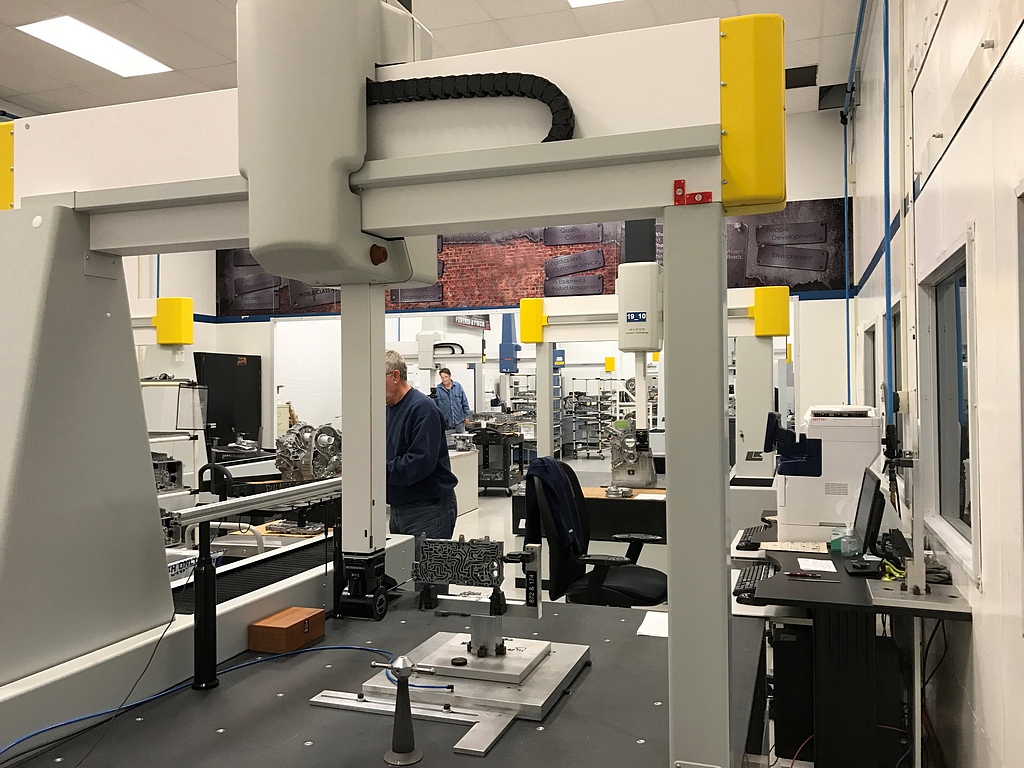
 At the U.S, transmission plant of a global automotive manufacturing group, component inspection times have been reduced by half or more by upgrading the company’s coordinate measuring machines (CMMs) to incorporate 5-axis scanning technology in addition to touch probing.
LK Metrology Inc., the Brighton, Michigan-based metrology company supplied 19 of the 26 CMMs in use at the U.S. factory. Two are on the shop floor, while the others are installed in five different quality control (QC) rooms.
LK Metrology converted the CMMs with the REVO 5-axis scanning system from Renishaw. LK not only converted its CMMs in use at the company, but also other manufacturer's CMMs used on site.
Upgrading the CMM
The impetus for investing in the metrology upgrade was the expansion of transmissions made at the facility. Previously, four- and six-speed transmissions were produced at the facility. Newer, eight and nine-speed versions as well as electric hybrid transmissions have also entered production.
It put the inspection team under pressure to cope with the increased throughput, so the company ordered extra LK machines and decided to award the site-wide, turnkey REVO upgrade and servicing contract to them.
 "LK had been pro-actively offering the conversion, but we needed to satisfy ourselves that our other CMMs could be similarly modified,” said a company representative. “Our engineers proved it could be done on a small, non-LK machine at another one of our plants. The results showed how fast the REVO process is, while being just as precise as the touch probing method we have traditionally employed.”
Meeting micron-level specs
Some machined features on the transmission components need to be held within ± 30 microns true position. To achieve this level of accuracy, it is essential the features are held to single-figure micron tolerances on other dimensions, as tolerance build-up is inevitable. “Obviously,” the spokesperson said, “we need to measure those features and REVO on our CMMs allows us to do that quickly and accurately."
Speed is critical considering the volume of inspections that occur. About 1,500 steel and aluminium parts per day are inspected, some being the same item but at different stages of manufacture. Overall, 200,000 features are checked daily.
The benefit of the present metrology set-up is that each of the five QC rooms houses are identical in technology and capability, with fixtures and probes freely interchangeable.
As a result, any operator can transfer jobs between CMMs around the site within minutes, a level of commonality that delivers highly consistent results. Previously this would not have happened, as the disparate measuring platforms within the facility meant that it would have taken hours or even days to move parts around for checking.
Both scanning and touch-trigger probing routines are applied using the REVO system, the former being faster for sections of an inspection cycle to which it is suited.
Two-axis CNC head
Renishaw's REVO scanning system is a two-axis CNC head that moves in unison with the three CNC axes of the CMM under program control to provide full 5-axis inspection, collecting dimensional data accurately using a tactile stylus. It can measure discrete points on a component in a conventional manner but is also able to scan over some areas, where it is expedient, to collect data at much higher speeds without leaving the surface. It is this latter feature that has on average halved cycle times at the US transmissions manufacturer.
Controlled by Renishaw’s MODUS software, the nimble head with its two rotary CNC axes minimizes the linear acceleration and deceleration of the CMM's large moving elements during a measuring routine, whether touch probing or scanning. It means that the three orthogonal axes move for the most part with constant velocity, allowing changes in component geometry to be followed without introducing dynamic errors. Programs are created either in teach mode using the same software or from a CAD model.
The spokesperson concluded, "The system works extremely well, so we get results faster. We are currently looking at the possibility of having LK retrofit the latest REVO-2 head to our CMMs, which would allow us to acquire information on the surface finish of components in the same CNC cycles. The need for dedicated test equipment to check surface roughness could then be reduced or even eliminated.”
"The system would also enable a multi-sensor approach to our measurement, as it can incorporate non-contact inspection using a vision probe as well as tactile methodology, should we ever decide to go down that route."
Contact Details
Contact Details
Related Glossary Terms
- computer numerical control ( CNC)
computer numerical control ( CNC)
Microprocessor-based controller dedicated to a machine tool that permits the creation or modification of parts. Programmed numerical control activates the machine’s servos and spindle drives and controls the various machining operations. See DNC, direct numerical control; NC, numerical control.
- computer-aided design ( CAD)
computer-aided design ( CAD)
Product-design functions performed with the help of computers and special software.
- metrology
metrology
Science of measurement; the principles on which precision machining, quality control and inspection are based. See precision machining, measurement.
- micron
micron
Measure of length that is equal to one-millionth of a meter.
- quality assurance ( quality control)
quality assurance ( quality control)
Terms denoting a formal program for monitoring product quality. The denotations are the same, but QC typically connotes a more traditional postmachining inspection system, while QA implies a more comprehensive approach, with emphasis on “total quality,” broad quality principles, statistical process control and other statistical methods.
- tolerance
tolerance
Minimum and maximum amount a workpiece dimension is allowed to vary from a set standard and still be acceptable.
