Making a precision weldment
Making a precision weldment
Welding technique minimizes shrinkage and strain.
I make machinery components that have tolerances of 0.0254 mm (0.001"). Occasionally, one of these components involves welding. So, let's discuss making a part that consists of a hub with a bore of 36.52 mm/36.50 mm (1.438"/1.437"), an OD dimension of 69.04 mm/69.01 mm (2.718"/2.717") and a sprocket welded to it. Photo 1 shows the hub and sprocket, and Photo 2 shows the assembly.
Welding can deform metal. It's all about thermal expansion. Metal is heated to a liquid to make a weld. As the metal temperature goes up the volume increases along with it. When the solid transitions to a liquid the volume increases faster. Then the weld happens. When the metal cools, it will try to shrink, and if it can't shrink, it will stretch. That is called strain.
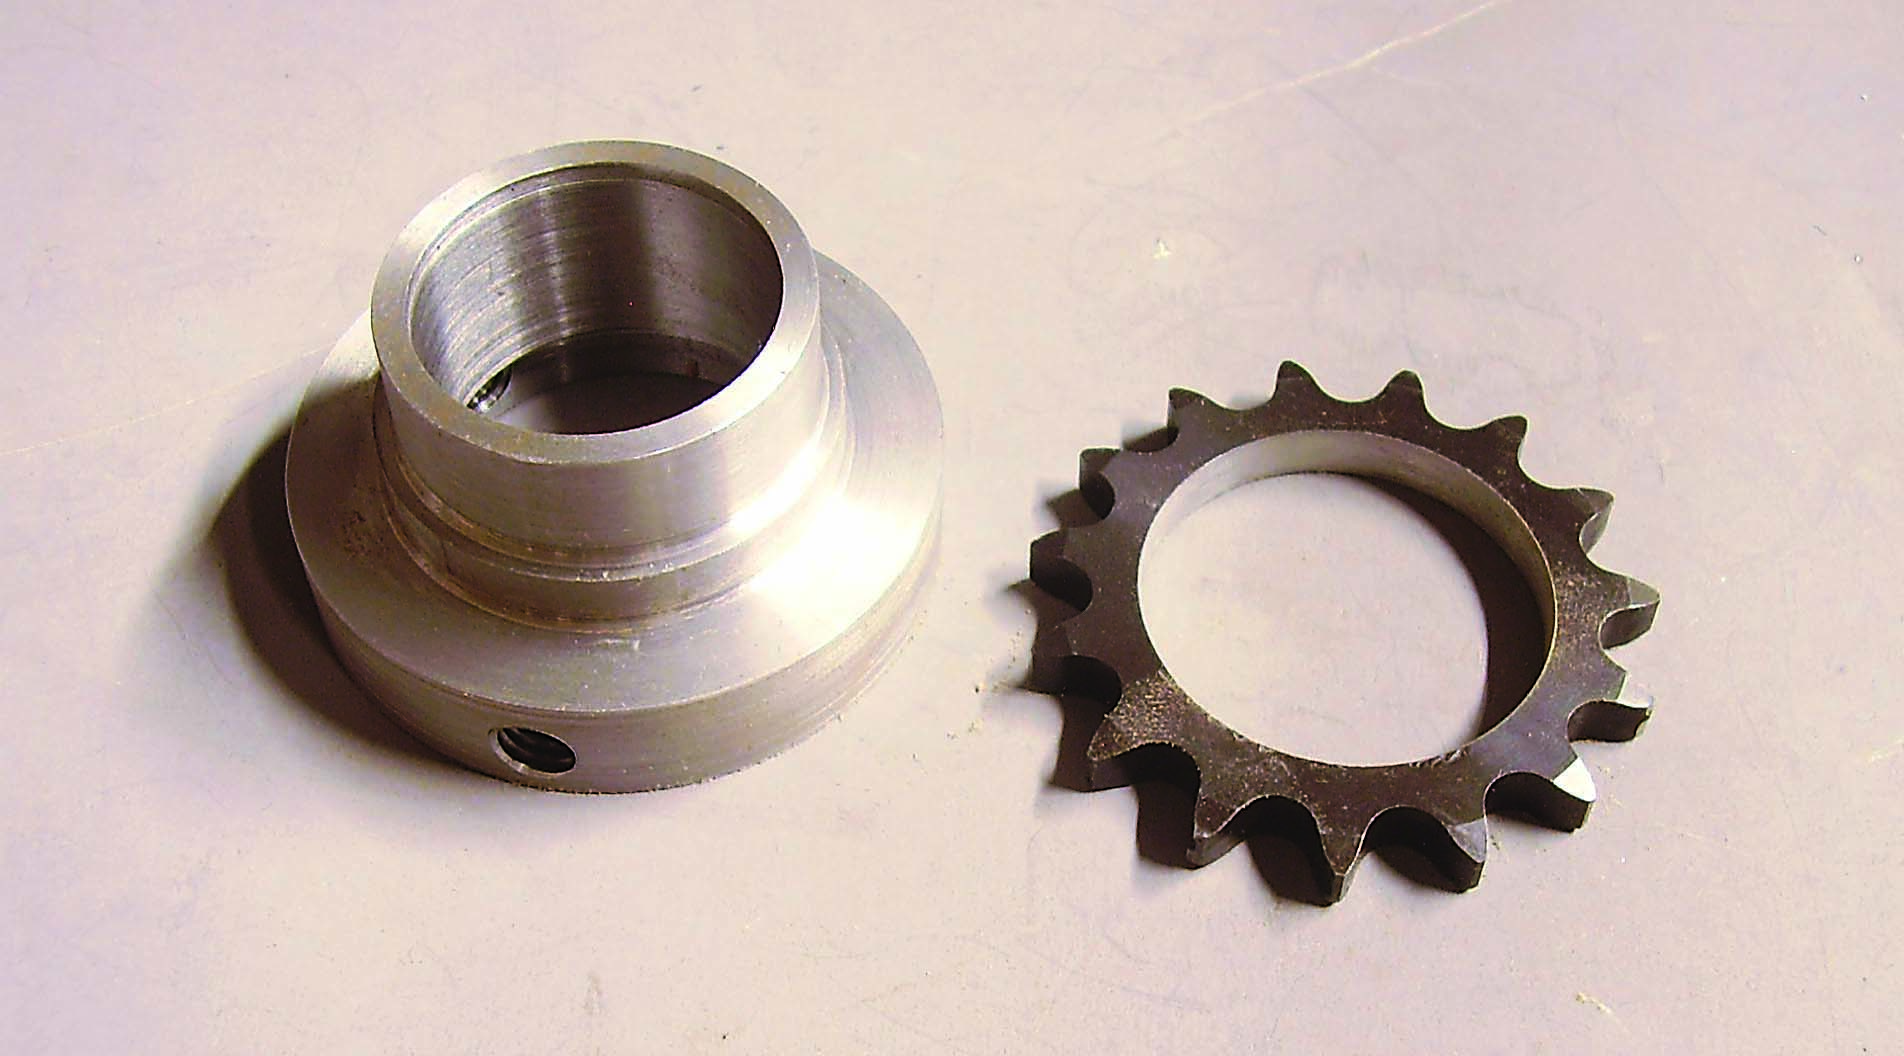
Photo 1 (top) shows the hub and sprocket, and Photo 2 (above) shows the assembly. Images courtesy of Brandt Taylor
Both of these conditions can deform the weld joint and the metal that was not melted. Usually, both shrinkage and strain happen with a welded joint.
There are two ways to make the part shown in Photo 2. Machine the hub so the fussy dimensions can be finished after the welding, or machine the hub to the finished dimensions and use welding technique to keep the fussy dimensions within specifications. I prefer the second method and that is what I will teach here. This technique minimizes shrinkage and strain.
To minimize shrinkage, keep the gap between the mating surfaces small. The sprocket is a type A 40A15, which comes with a 15.88 mm (5/8") bore. The hub has an OD to accept the sprocket bore with a dimension of 43.64 mm (1.718"). I make the hub and sprocket, so the hub OD feature is 0.001" smaller than the bore in the sprocket. That dimension allows clearance for assembly and keeps the sprocket and hub concentric.
To minimize strain, the parts are assembled and preheated before welding. I assemble the parts and clamp them together using two small C clamps. I preheat to 200° C (392° F) using a hot plate. An infrared pistol grip thermometer is convenient for checking the temperature. Heat the part and then remove it from the heat and let the temperature in the part stabilize for a couple of minutes before welding.
I use a TIG (tungsten inert gas) welder because I can control the heat with a foot pedal. The weld is 3.175 mm (1/8") wide, so it is small, which helps a lot. (Note: You may get good results with a MIG welder. I don't use a MIG (metal inert gas) welder, so I don't know about that process.)
When welding, I first make two small tacks at 180°, then remove the clamps. I then weld 60° of the joint, rotate the part 180° and do another 60°. Then back and forth like that till the weld is done. The idea is to heat the part uniformly around the joint. This helps with concentricity. When the joint is done, let the part air cool.
I have made this part many times. All were good parts with no rejects. That keeps me and my customer happy.
Happy welding.